In this article we demonstrate how to render XAML controls from a WinUI 3 Desktop Application in a PDF document. This is the third part in a series on using QuestPDF for generating PDF documents. In the first article we introduced the API (text, images, tables, page numbers, …) and the patterns, in the second article we demonstrated how to embed OxyPlot charts or other SkiaSharp-based visuals in a PDF document. In this article we focus on XAML visuals. We will cover
- basic controls such as sliders and radio buttons,
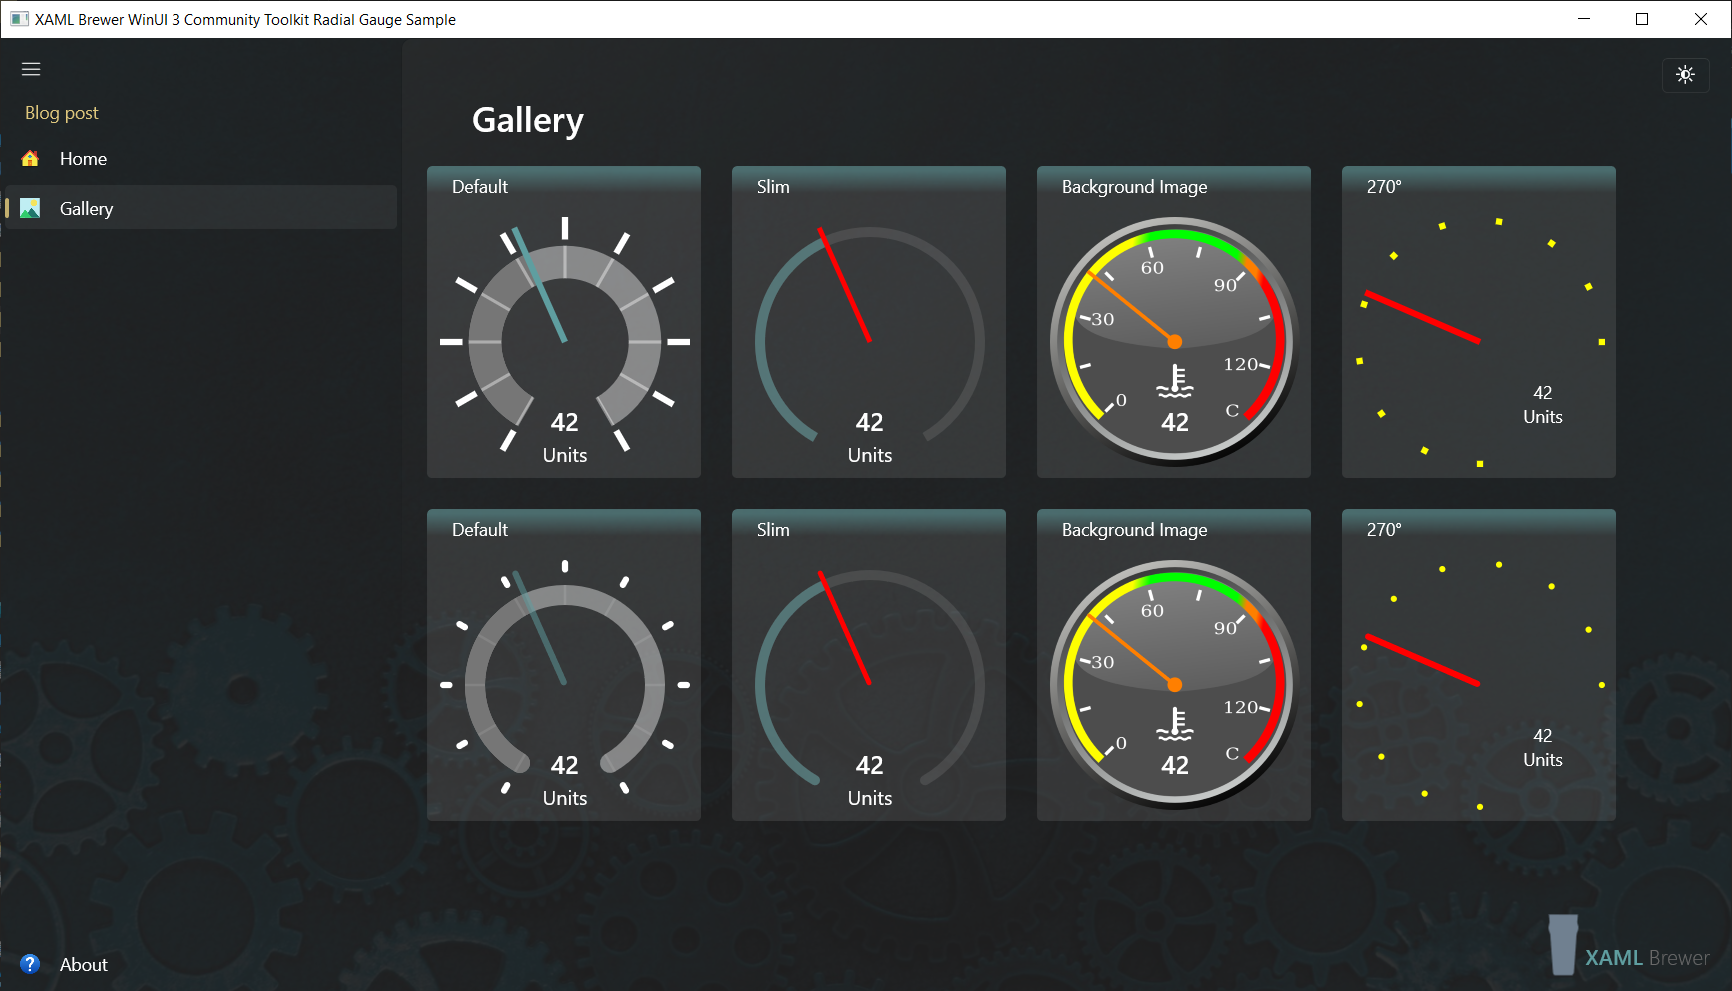
- Windows Community Toolkit controls such as radial gauge and orbit view,
- off-page rendering,
- theming, and
- adding a full app screenshot.
We added a new sample page to our QuestPDF sample app. The page has its own PDF document. Here’s how both look like:

Displaying XAML Visuals
Our sample page hosts some regular XAML controls:
<CheckBox x:Name="CheckBox"
            Content="5 golden rings"
            IsChecked="True" />
<RatingControl x:Name="RatingControl"
                Value="4"
                Caption="4 calling birds"
                HorizontalAlignment="Left" />
<RadioButtons x:Name="RadioButton"
                MaxColumns="2"
                SelectedIndex="1">
    <x:String>3 French hens</x:String>
    <x:String>2 turtle doves</x:String>
</RadioButtons>
<Button x:Name="Button">
    <StackPanel Orientation="Horizontal">
        <Image Source="/Assets/Partridge.png"
                Height="32"
                Margin="6" />
        <TextBlock Text="A partridge in a pear tree"
                    Margin="6"
                    VerticalAlignment="Center" />
    </StackPanel>
</Button>

<!-- More XAML Visuals ... -->
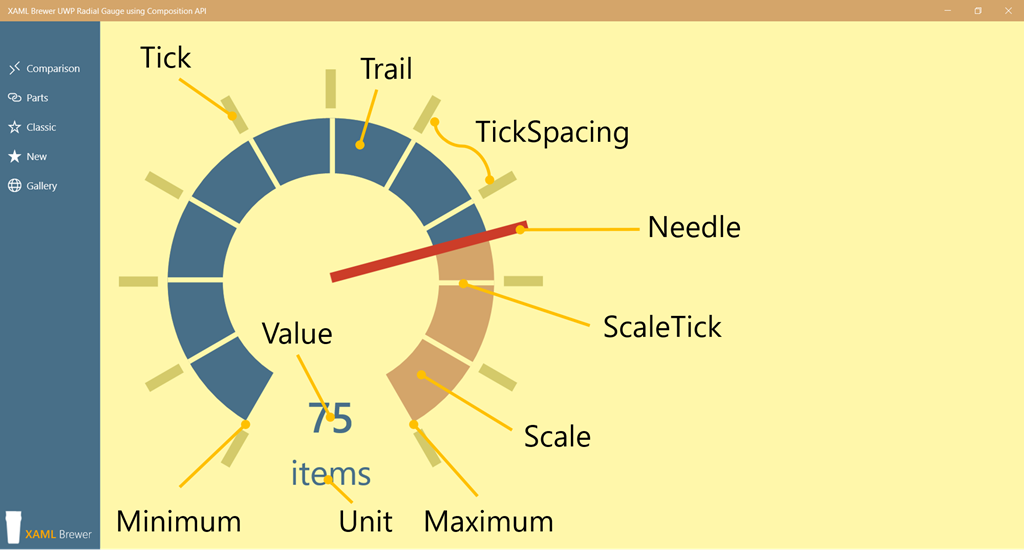
We also added some Windows Community Toolkit controls with a bit more complexity. The RadialGauge renders through the Composition Layer, and the OrbitView mixes XAML elements and images. Here’s how they are defined in the sample page:
<ContentControl VerticalAlignment="Center"
                HorizontalAlignment="Center"
                Grid.Row="1"
                MaxHeight="200">
    <controls:RadialGauge x:Name="RadialGauge"
                            Value="7"
                            Maximum="12"
                            Unit="Swans a-swimming"
                            ...
                            Grid.Row="1" />
</ContentControl>

<controls:OrbitView x:Name="OrbitView"
                    Background="Transparent"
                    OrbitsEnabled="True"
                    AnchorsEnabled="False"
                    MinItemSize="30"
                    MaxItemSize="60"
                    AnchorColor="Gainsboro"
                    OrbitColor="Gainsboro"
                    Grid.Column="1"
                    VerticalAlignment="Top"
                    HorizontalAlignment="Left"
                    Margin="-60">
    <controls:OrbitView.ItemTemplate>
        <DataTemplate x:DataType="controls:OrbitViewDataItem">
            <!-- Template -->
    <controls:OrbitView.ItemsSource>
        <controls:OrbitViewDataItemCollection>
            <controls:OrbitViewDataItem Image="ms-appx:///Assets/Moons/callisto.png"
                                        Distance="0.2"
                                        Diameter="0.3" />
            <!-- More Moons -->
        </controls:OrbitViewDataItemCollection>
    </controls:OrbitView.ItemsSource>
    <controls:OrbitView.CenterContent>
        <Image Source="/Assets/Moons/sun.png"
                VerticalAlignment="Center"
                HorizontalAlignment="Center"
                Height="100" />
    </controls:OrbitView.CenterContent>
</controls:OrbitView>
Observe that the RadialGauge is wrapped in a ContentControl. This is to keep its ActualSize a square – otherwise the control would be stretched into a rectangle in the PDF document.
Each control that we want to render in the QuestPDF document, is first transformed to a byte array holding a PNG image;
var images = new Dictionary<string, byte[]>
{
    { "Slider", await Slider.AsPng() },
    { "Button", await Button.AsPng() },
    { "NumberBox", await NumberBox.AsPng() },
    { "RatingControl", await RatingControl.AsPng() },
    { "CheckBox", await CheckBox.AsPng() },
    { "RadioButton", await RadioButton.AsPng() },
    { "RadialGauge", await RadialGauge.AsPng() },
    { "OrbitView", await OrbitView.AsPng() }
};
The document itself is an IDocument with the dictionary of byte arrays as model:
internal class XamlControlDocument : IDocument
{
    public Dictionary<string, byte[]> Model { get; }

    public XamlControlDocument(Dictionary<string, byte[]> model)
    {
        Model = model;
    }

    // ...

}
It’s up to the document to decide where to place the XAML Visual and with which size:
column.Item().Text("Slider:");
column.Item()
    .Height(50)
    .Image(Model["Slider"], ImageScaling.FitArea);

column.Item().Text("Radial Gauge:");
column.Item()
    .Height(150)
    .Image(Model["RadialGauge"], ImageScaling.FitArea);

column.Item().Text("NumberBox:");
column.Item()
    .Height(30)
    .Image(Model["NumberBox"], ImageScaling.FitArea);
Off-page Rendering
When your PDF document needs to display a XAML Control that’s not shown in the app, then keep it outside the page by giving it a big enough negative margin. Keep the control invisible, otherwise it might influence the ActualSize of other ones. As already mentioned, we need all controls to have a representative ActualSize:
<CalendarView x:Name="CalendarView"
                Margin="-1000, 0, 0, 0"
                Visibility="Collapsed" />
Toggle the Visibility of off-page controls when generating the PNG:
CalendarView.Visibility = Visibility.Visible;
images.Add("CalendarView", await CalendarView.AsPng());
CalendarView.Visibility = Visibility.Collapsed;
Theming
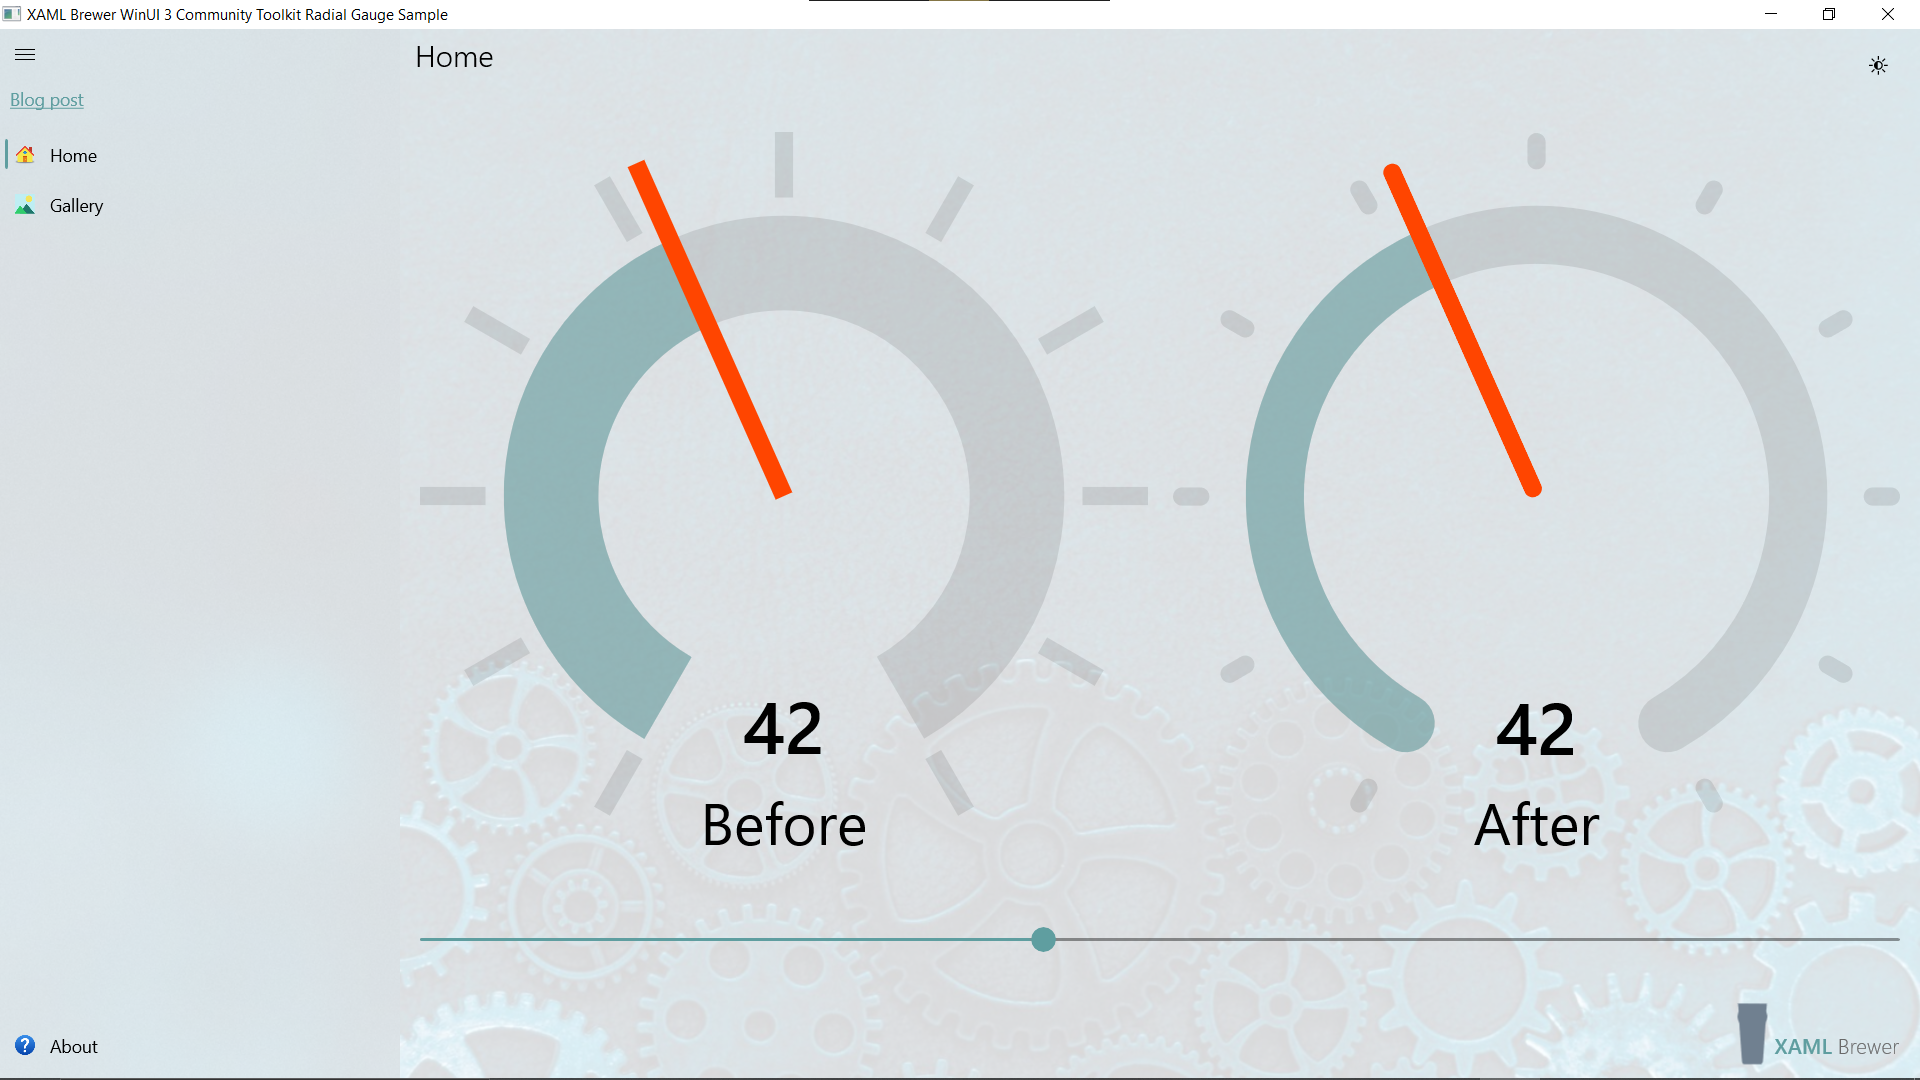
When the app is in light theme, you can render the controls as-is – they will look on paper as they look on a white application background:

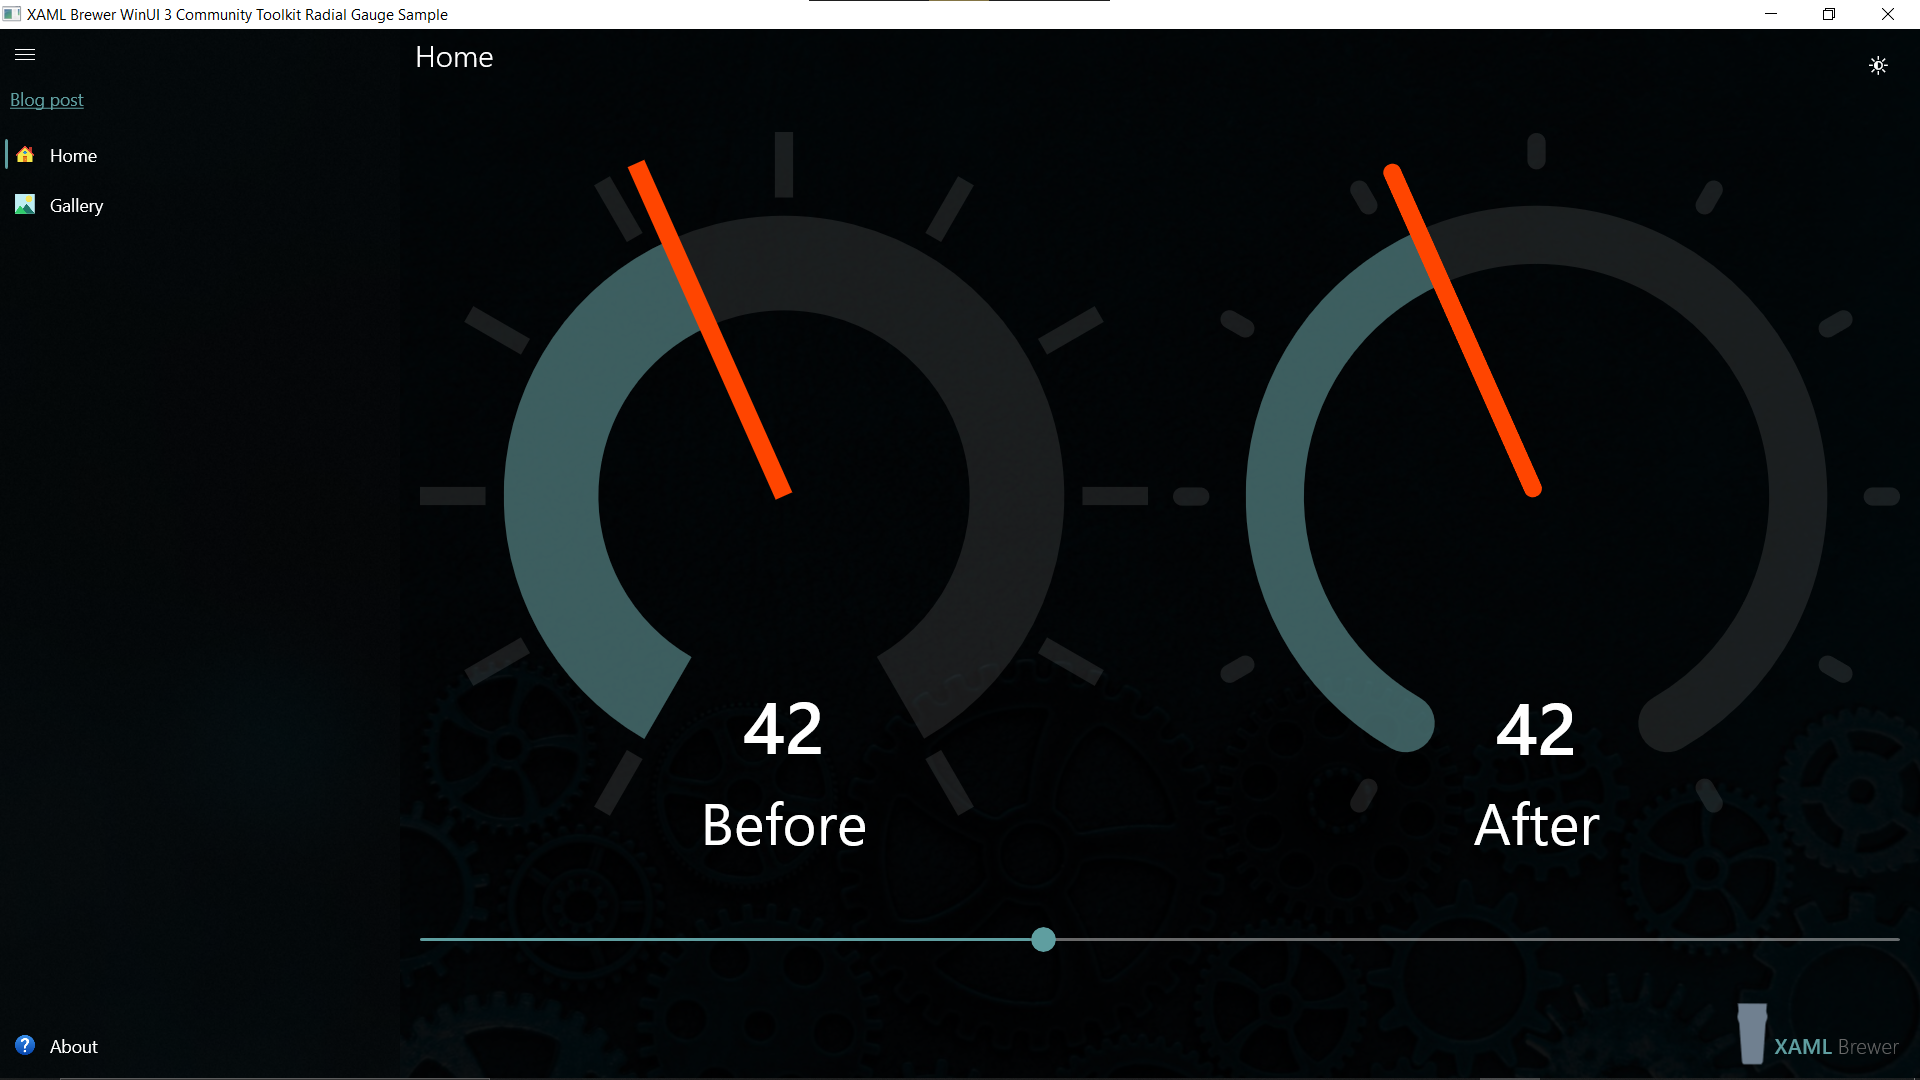
When you app is in the dark theme, you can temporary switch the controls to light:
var switchTheme = false;

if (ActualTheme == ElementTheme.Dark)
{
    switchTheme = true;
    RequestedTheme = ElementTheme.Light;
}

// Generate PNG images ...

if (switchTheme)
{
    RequestedTheme = ElementTheme.Default;
}
It’s true that this theme switch will be noticeable in the UI. If that bothers you then you can keep a version of these controls off-page and bind these to the same (view)model.
Here’s how the page looks like:

And here’s the corresponding PDF document:

Adding a screenshot
Our algorithm works for all XAML controls, that includes the root control of the app window (in many cases a NavigationView). We made it available to the app’s pages via a property in App.Xaml:
internal UIElement AppRoot => shell.AppRoot;

protected override void OnLaunched(LaunchActivatedEventArgs args)
{
    shell = new Shell();
    shell.Activate();
}
Here’s how a screenshot is added to our document’s images model. We didn’t switch it to light theme:
images.Add("Root", await (Application.Current as App).AppRoot.AsPng());
And here’s how the result looks like:

Generating a PNG
Here’s the code for generating a PNG from a XAML UIElement, nicely packaged in an asynchronous extension method. It is based on an archived Windows 8 sample.
A RenderTargetBitmap creates a bitmap in BGRA8 format (little-endian RGB, how your processor stores an image) with the actual size of the control. Its pixels are encoded as PNG by a BitMapEncoder through an InMemoryRandomAccessStream (which both only seem to exist in UWP and WPF documentation – not in WindowsAppSdk). We transform this stream to a byte array to eventually feed it to our PDF document:
public static async Task<byte[]> AsPng(this UIElement control)
{
    // Get XAML Visual in BGRA8 format
    var rtb = new RenderTargetBitmap();
    await rtb.RenderAsync(control, (int)control.ActualSize.X, (int)control.ActualSize.Y);

    // Encode as PNG
    var pixelBuffer = (await rtb.GetPixelsAsync()).ToArray();
    IRandomAccessStream mraStream = new InMemoryRandomAccessStream();
    var encoder = await BitmapEncoder.CreateAsync(BitmapEncoder.PngEncoderId, mraStream);
    encoder.SetPixelData(
        BitmapPixelFormat.Bgra8,
        BitmapAlphaMode.Premultiplied,
        (uint)rtb.PixelWidth,
        (uint)rtb.PixelHeight,
        184,
        184,
        pixelBuffer);
    await encoder.FlushAsync();

    // Transform to byte array
    var bytes = new byte[mraStream.Size];
    await mraStream.ReadAsync(bytes.AsBuffer(), (uint)mraStream.Size, InputStreamOptions.None);

    return bytes;
}
Why this is important
In our article series on QuestPDF we went much further than rendering text, images, tables and page numbers in a PDF document. We focused on generating charts and diagrams, rendering XAML controls, and embedding screenshots. Our aim was to investigate whether PDF generation could be a valid substitute for direct print support. Application print support in UWP is XAML based and always was -this is an understatement- overly difficult and unstable. Since the situation for WinUI 3 does not look any better, we were looking for an alternative.
We’re happy to conclude that there are free products on the market that can cover this need to generate a print-out of a WinUI application page in a decent and stable way. We are already busy with replacing the ‘Print’ button with a ‘PDF’ button in most of our apps.
Our sample app lives here on GitHub.
Enjoy!