EmbedPress Pro allows you to embed the Twitch Live Chat option into your Twitch Video anytime on your WordPress favorite Gutenberg Editor, Classic Editor, or Elementor Editor. It helps you to customize your Twitch video entire outlook enabling the live chat option just with a single click.
Letâs follow the step by step guideline below to configure Twitch Live Chat with EmbedPress below:
How to Embed Twitch Live Chat in Gutenberg #
Follow these simple steps to embed and configure Twitch Live Chat in any of your Twitch video links in your WordPress website using the Gutenberg editor.
Step 1: Add New Page In Gutenberg Editor #
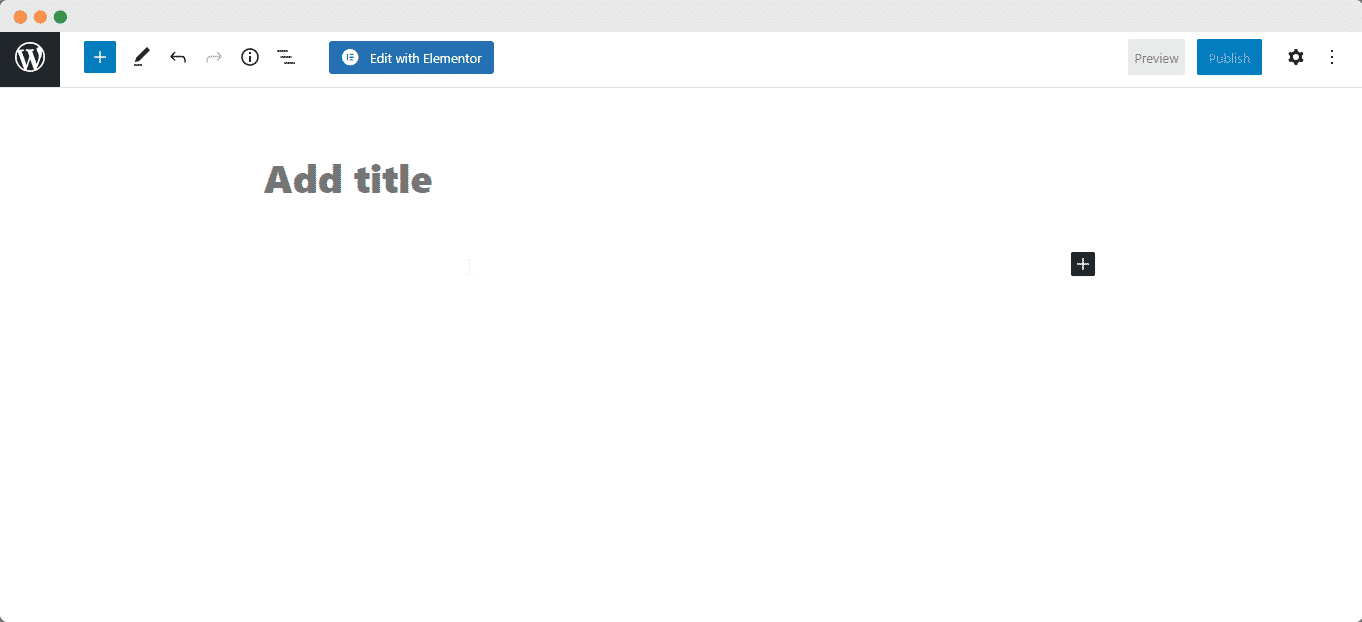
Create a new post or page from your WordPress dashboard and click on the â+â icon anywhere in your content area of the Gutenberg editor.
Step 2: Embed Your Twitch Video Link #
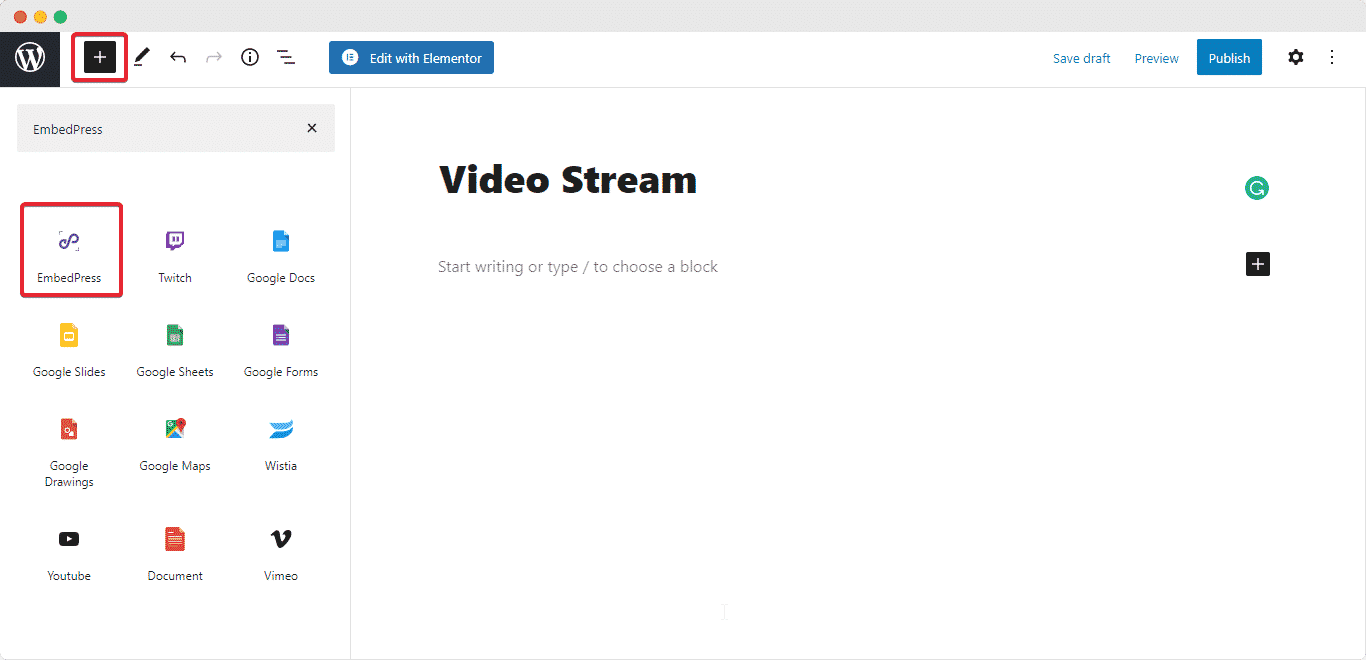
Search for the âEmbedPressâ block to embed your Twitch Live Video on your Gutenberg Editor. Simply just copy and paste your preferred link on the EmbedPress âEnter URL to embed here’ section and hit the âEmbedâ button. EmbedPress will then automatically embed your content into your post or page.

Step 3: Configure EmbedPress Twitch Settings #
From EmbedPress â General â Twitch you can get full control over your Twitch video outlook, live chat option, and many more. You can select the start time (in seconds) of your Twitch video, enable or disable the autoplay, and live chat option.

Besides, if you want, you can select your Twitch video display theme in âDarkâ or âLightâ on your website, enable the full-screen button, or can make your video mute on starting and make the changes as per your preferences.
When you are done, click on publish to share your Twitch video with the live chat option on your WordPress website.

How to Embed Twitch Live Chat in Classic Editor #
As you have seen how easily you can embed and configure Twitch Live Chat in Gutenberg, following the same process you can make it happen on Classic Editor. Check out the simple guidelines below:
Step 1: Create A New Page In Classic Editor #

Create a new post or page from your WordPress dashboard and you are ready to embed your desired Twitch video link on your Classic editor.
Step 2: Embed Your Twitch Live Video Link #
To embed your Twitch Live Video, simply just copy and paste your desired link on Classic Editor. Afterward, EmbedPress will then automatically embed your Twitch video content into your post or page.

Note: Make sure you have pasted your desired links on Classic Editor âVisual modeâ and not in the âTextâ one.
Step 3: Configure EmbedPress Twitch Settings #
From EmbedPress –> General –> Twitch, whatever changes you will make by adjusting video start time(in seconds), enable or disable the autoplay, live chat option, and more. Itâs completely the similar process that you have seen in the Gutenberg Editor section above.
Once you are done, click on publish to share your Twitch video with the live chat option on your WordPress website.
How to Embed Twitch Live Chat in Elementor #
You can use EmbedPress with Elementor to embed and configure your Twitch video with Twitch live chat into your WordPress website. Follow these steps to embed Twitch live chat in Elementor Editor.
Step 1: Create A New Page In Elementor Editor #
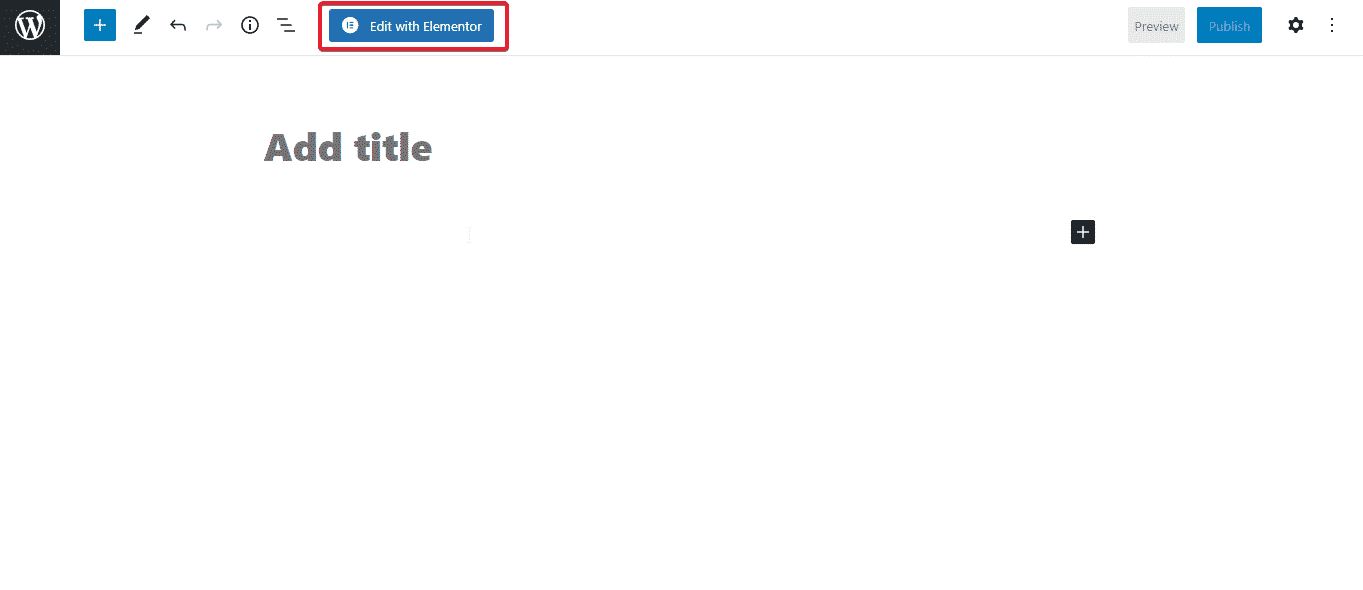
First, create a new page from your WordPress dashboard by navigating to Pagesâ Add New and then click on the blue âEdit With Elementorâ button. Then search for the âEmbedPressâ element from under the âELEMENTSâ tab in Elementor Editor.

Next, drag and drop this EmbedPress element anywhere on your page where you want to embed your Twitch live chat.
Step 2: Embed Twitch Video With Live Chat In Elementor #

From the âContentâ tab, you can choose the âSource Nameâ as âTwitchâ under the âContent Settingsâ.
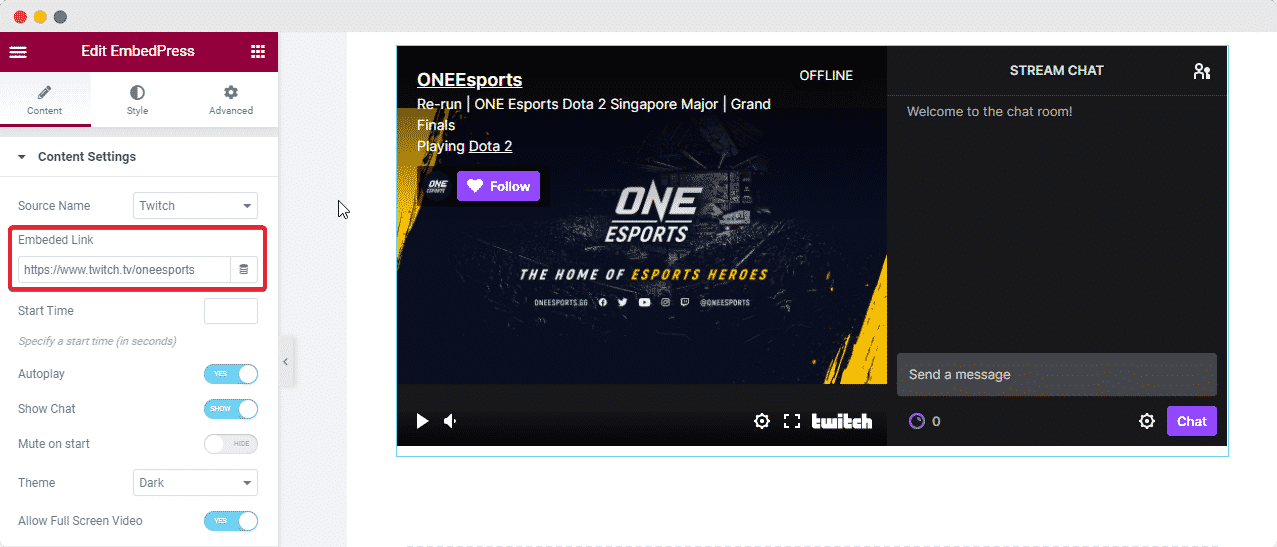
After that, it will come with a detailed window, and you just have to copy and paste your desired link there on the âEmbedded Linkâ section. EmbedPress will then automatically embed your Twitch video into your website.
Step 3: Configure & Publish Your Twitch Live Chat In Elementor #

To display Twitch Live Chat with your Twitch video, enable the âShow Chatâ option. Afterward, it will make the live chat option enable right away.

Besides, if you want, you can configure the start time(in seconds), enable or disable the autoplay, or mute on start on your Twitch video from Elemenetor Editor. Even you can change your Twitch video display theme in âDarkâ or âLightâ mode on your website, and configure it for full screen on your website.
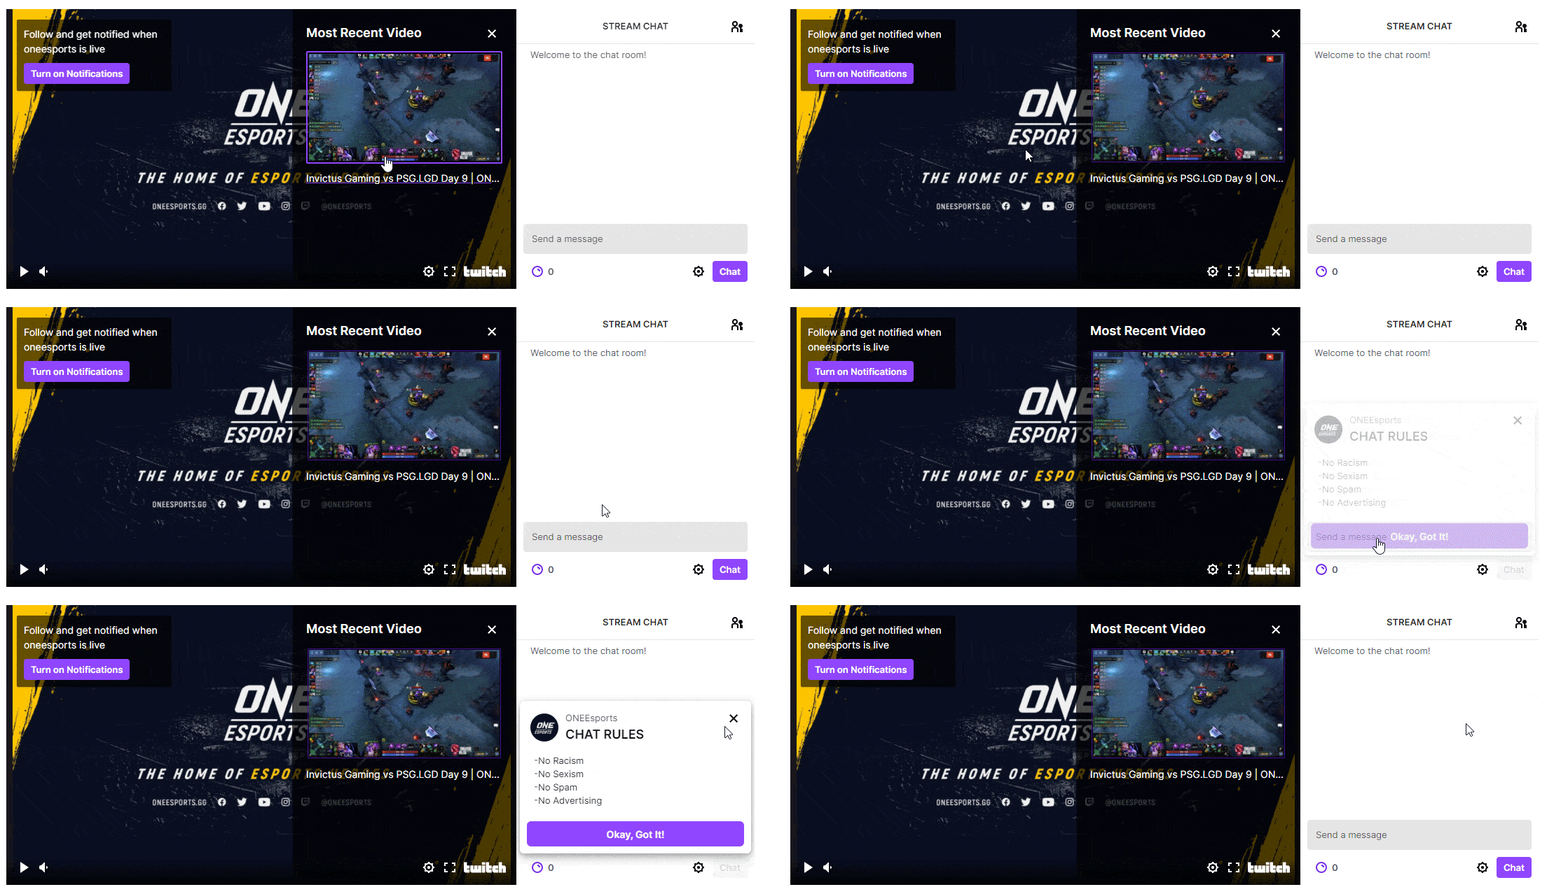
Once you have done with all the changes, click on âPreviewâ or âPublishâ to see how your Twitch video with Twitch Live Chat has been embedded by EmbedPress.
With these simple steps, you can embed and configure Twitch Live Chat on Twitch Video instantly in your WordPress website with EmbedPress using any of the Gutenberg Editor, Classic Editor, or Elementor Editor.
Get Live Experience Of Embedding Twitch Live Chat #
If you are facing problems and require further assistance, feel free to contact our support or join our Facebook Community to get in touch with WordPress experts and content creators like yourself.